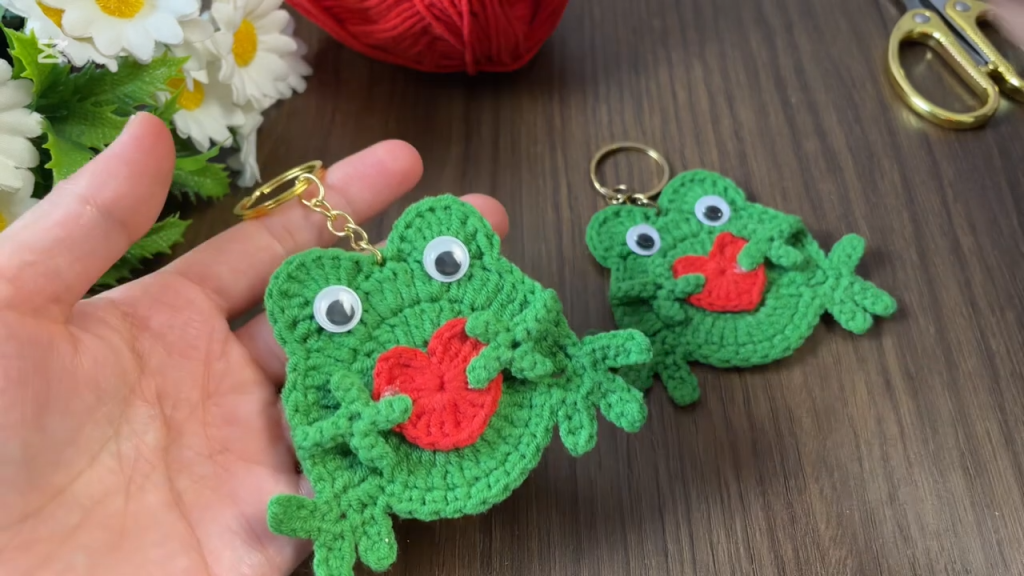
🌟 Easy & Elegant Beaded Crochet Keychain – Perfect for Handmade Gifts

Looking for a fun, beginner-friendly crochet project that’s quick, unique, and stylish? This beaded crochet keychain is just what you need! Whether you’re adding charm to your everyday keys, preparing handmade gifts, or stocking up your Etsy shop, this project offers endless possibilities. Featuring stone-like decorative beads and basic crochet techniques, this little accessory combines beauty with simplicity. It’s lightweight, quick to complete, and perfect for using up leftover yarn. If you love compact projects with character, you’ll adore crafting this elegant crochet keychain!
🧵 Required Materials
- DK weight cotton yarn (or any scrap yarn)
- 2.5 mm crochet hook
- Decorative beads (stone-look or wooden style)
- Keychain rings or lobster clasps
- Yarn needle
- Scissors
🧶 Yarn tip: A smooth cotton yarn helps maintain neat stitches and durability. Choose contrasting bead colors for an eye-catching finish.
🪡 Techniques You Need to Know
- Slip Knot: The very first loop to start your crochet work.
- Chain Stitch (ch): A basic stitch to create foundation chains.
- Single Crochet (sc): Used to build the body of the keychain.
- Slip Stitch (sl st): For joining and finishing rounds cleanly.
- Adding Beads: Slide beads into stitches as you go, or string them beforehand.

💡 Creative Uses & Styling Ideas
This beaded crochet keychain can be used in so many charming ways:
- 🎁 As a cute, handmade gift for birthdays or holidays
- 🔑 To personalize your keychains or bag zippers
- 🛍️ As small sale items for craft fairs or Etsy shops
- 🎒 Kids’ backpack charm or schoolbag accessory
- 🏡 Hang on door handles or mini knobs for boho home décor
Play around with colors to match themes like spring pastels, bohemian earth tones, or festive red and gold for holidays.
👣 Step-by-Step Instructions
- Start with a slip knot and chain 10.
- Turn and work 1 single crochet (sc) into each chain across (9 sc total).
- Chain 1 and turn. Repeat sc rows for a total of 4–5 rows.
- Slide your bead onto the yarn. Place it at one side and secure with a slip stitch.
- Fold the rectangle in half lengthwise. Slip stitch or whipstitch the long edge together.
- Stuff lightly if desired for 3D shape (optional).
- Insert keyring at the top. Sew it securely into place.
- Weave in ends. Done!
🎯 Pro Tips
- ✨ Use a needle with a large eye if beads don’t slide through easily.
- 🧵 Keep your tension consistent so the shape stays even.
- 🎨 Color coordinate the yarn and beads for a boutique-quality look.
- 🚫 Avoid overstuffing if you choose to fill – keep it flat and flexible.
- ⚠️ Watch out for twisting when joining the ends – keep edges aligned!
💬 Behind the Design
This design was born out of a simple idea — turning leftover yarn and decorative beads into something meaningful. The natural stone beads remind me of summer markets and handmade treasures from local artisans. Each keychain I make carries a bit of that joyful, homemade spirit. I imagined this piece hanging from a backpack or gifted to a friend — a tiny symbol of creativity and thoughtfulness. It’s playful, calming, and above all, unique — just like the hands that make it.

🎁 Bonus: Matching Pattern Suggestions
Looking to create a matching set? Try these:
- 👜 Crochet Beaded Bag Charm
- 🔲 Mini Wall Hanging with Beads
- 🎀 Matching Beaded Bookmark
These small patterns are perfect companions and can easily be adapted from the same base design.


